Monday 31 December 2012

New Year Nails Art....:)


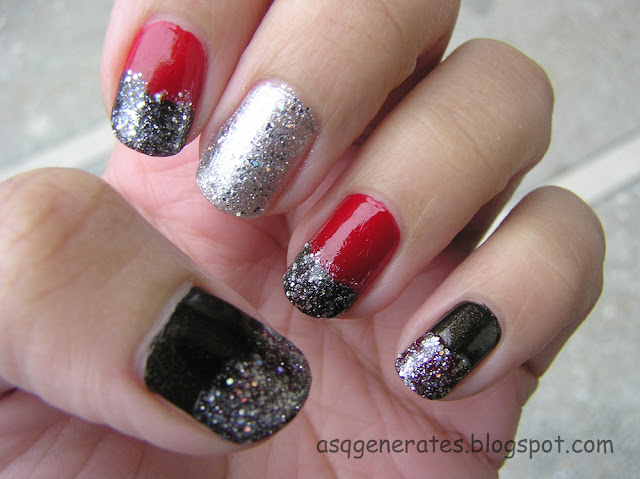
So here am I with a New Year inspired Nail Art that is super easy for the beginners in nail art department Its….Super Sparkling, Glittery, and Twinkly.


If you want to know how I created this nail art then keep on scrolling down and I will tell you everything:) 


New Year Nails Art finished product


For this Nail Art I incorporated the color that I think goes with the New Year eve Reds…Blackss…and Silver…J


Step 1:


I painted my thumb and Pinky finger a black colour which has these tiny gold shimmer:)

My Index Finger and the ring finger blood red colour :)
Then paint my Middle finger with a shimmery silver colour.

Red,Black and Silver painted nails


Step 2:


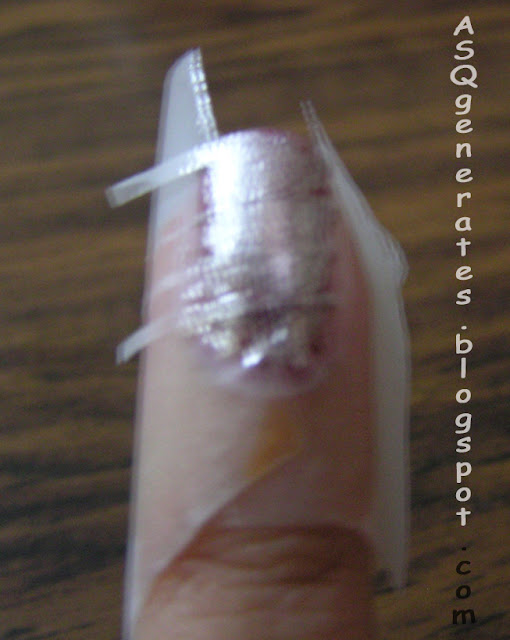
Starting from the pinky finger get a tape or you can get these french tip nail stencil and put that right in the middle of your nails:)

This step goes for all of your nail except the middle finger...leave that alone.


Note: You can skip this step and just eyeball the next step-this is just to make things easier.


Black polish nail with stencil


Red polish nail with stencil
Add caption

Step 3:
Now paint the tip of your nail with the opposite colour i.e. 
Red Base--Black shimmer tips 
Black Base-Red tips
After 2 to 3 seconds remove the tape/stencil.

Black tip on the red base


Black tip on the red base
The result you get after removing the tape:

after the stencil is removed


Step 4:

Now come the fun step- Applying glitter --on each and every nail tip
&
cover the Middle nail whole with glitter

Apply glitter on the tips

applying glitter on the tips

Don't forget to Finish this design with a Clear Top Coat as you need it for this one....to just make thing look merged in well....
It looks better this way....and polished looking...:)


New Year Nails Art showing off the glitter in different light

Hope you all like this & give it a try and rock this on….
And may this coming year bring lots of joy in your life and may you shine just like these nails and even more….

HAPPY NEW YEAR 2013 You all…



Monday 24 December 2012

Holiday Nail Art Part 2-Christmas Tree Inspired:)

Here is another super easy to create Nail Art design for you all.

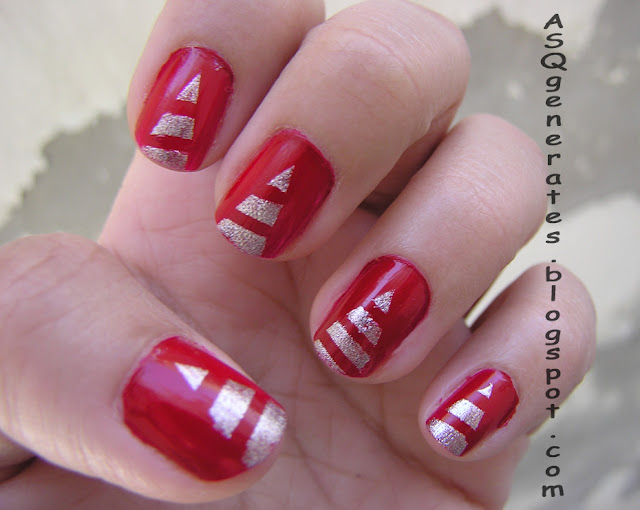
In this nail art I attempted to make Christmas trees that are easy to create and look intricate and unique.
I was very well happy with how it came out to be and wanted to share it with you, so here we go.


Step 1

Paint your nail with 2 coats of solid red colour.

rPaint the nail red color


Step 2

Start taping your finger ; just like the image below.

Create a tree like shape with tape on the nail


a) First put two tape on the side forming a triangle in the middle of your nail.

b)Then cut small line from your tape and place them across the triangle that you created leaving some space in between.


Step 3

Paint your finger with silver nail polish or any other combo you want .
Then peel off the tape after few seconds, but don't let it dry.

Paint on with a silver nail polish


After that Let the design dry off and finish off with a clear top coat.

And there you have your Christmas tree nail Art.

Super Easy yet Festive & Sparkly.


Remove the tape,apply top coat


 ……Hope you all have a lovely Holiday 

And enjoyed this design of mine and give it a try 
Share your recreation with me on my twitter  or on my facebook page 

Take Care.

see ya later....

Wednesday 19 December 2012

Nail Art : Inspired by Holidays

Hey everyone

Hope you all are having a fabulous day where ever you are….

 As a girl who loves doing nails but is not that great at nail art - when I see other people do their nailart with intricate design I feel so jealous of them wishing to have their talent or to have a budget to go to a professional.

But looking on the brighter side this made me inspired to create a pretty but simple and easy to do festive design.

I love it and thought some of you beginners who find nail art a pain but want to do something different with your nails will enjoy this as much as I did.

Now without further of me blabbering please go ahead and check the nail art out…..AND hey tell me if you like them ?


red and white nail polish nail tutorial

Things you will need:)


1)Red Nail Polish
2) White Nail Polish
3) Toothpick

that is it...it can't get any simpler;) 


Step 1: Paint your nail with a solid red nail polish.
         
Paint nail red color


Step 2: Grab the toothpick and your white nail polish.

Grab white nail polish and toothpick


Step 3: Dip the toothpick in your white nail polish.

Dip toothpick in white nail polish


Step 4: Put small dots with the toothpick mainly on your nail tip and a little bit upwards.

Create white dot on the tips


Step 5: Fill your ring finger with lots of dots,as your accent finger .

Ring finger the accent finger


Ring finger with lots of white dots
CLOSE UP OF THE ACCENT FINGER:)

Wait for the design to completely dry off so that you won't smudge the design and top of the design with your favorite Clear Top Coat to seal in the nail art. 

And there you go your Holiday Nail Art Design is ready in front of you:)


Apply top coat


Holidays Nails final look


Holidays Nails close up

Try this out and tweet me your picture @ASQgenerates I would love to see your take on it. 

Till then take care see you all very very soon:)

Love you all for taking the time out of your day and reading my blog it truly means a lot…..

Thank you.:)

Thursday 13 December 2012

Nail of the Week & Review -Golden Rose PARIS NAIL LACQUER/ POLISH


First of all guys I am so sorry for being gone -well almost 10 more day to go and 1 month complete….i am so sad …:( I was occupied with my dad work that I couldn’t take time out for my blog…but hopefully now I am back and will be posting more frequently….:)

So let’s begin with the :

Nail of the Week:


        I have seen so many people do these and I adore nail polish so why not pop these in here.

This week I was wanting something chic looking on my nails…and I saw 
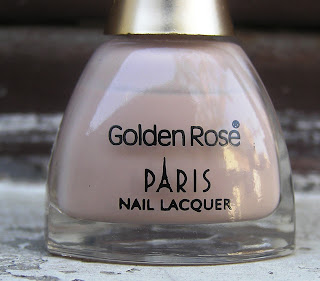
“Golden Rose PARIS NAIL LACQUER”  in beige #12 
sitting on my desk…. and it was staring right at me SO why not…...... I got this nail polish from my home country for PKR 125-130 and was not aware of this brand so I was very much nervous but interested to try out.

This is a very beigy nude pinky color close like the one used for the French manicure ,but in two coat you get this opaque beige polished nail look.

Golden Rose PARIS NAIL LACQUER packaging

At the first coat you won’t see a major difference …it come out as a very natural coat of beige but very pretty 
Golden Rose PARIS NAIL LACQUER first coat
First Coat:)

I wanted much more opacity so I applied a second coat and 
was
 impressed.

Golden Rose PARIS NAIL LACQUER 2nd coat
Second Coat


A very true to its color and most of the time I don’t see that with light colors.

Golden Rose PARIS NAIL LACQUER-quality of the polish

I was a Happy Bird for this week :)

 I don’t know how I didn’t use this nail polish before: 0

Sometimes you can see the nail line but that is not always… its not obvious or irritating. 


Secondly I will say that it can become a bit streaky if you are not careful but that what’s almost all the light color tend to do (or what I have experienced with most of my light colored nail polishes), but when applied correctly its applies beautifully,as you can see there is no crazy streak party on the nail.


Lasting day…..It lasted for almost 3 days…..you could stretch it out till 5 days.

Drying time….1rst coat took 5 mins
2nd coat -10 mins
Total Drying time  20min……and then its smudge proof…:)


And opps I almost forget…..

This is what the brush looks like 

Golden Rose PARIS NAIL LACQUER brush head

nothing to special as I like my brushes to be on the thicker side …
but as this get the job done I have no issues.

Would I Recommend it…….YES.

So have you ever tried this brand out or even heard of before?

 How was you experience?

And did you like this post???

Let me know….and please leave in your suggestion or idea in the comments below

Talk to You all very soon…

Take care you guys:)


Related Posts Plugin for WordPress, Blogger...